
Are you wishing Windows would operate faster? Here we unpack and share for free, 9 useful ways to truly maximise your operating system.
Like with most things, your PC will get slower as it ages. It’s not entirely Windows’ fault, however it is the largest piece of software which runs on your machine so you are not entirely wrong to blame it.

1. Reduce applications on start up
Firstly, the most simple and effective piece of advice - don’t start up any applications or processes you don’t need. When you switch on your Windows computer, a number of selected programs start automatically. This feature is especially useful for software you use every day. But often other programs creep into the auto start up which you hardly ever use. These applications continue to run in the background after automatically starting, taking up precious working memory.
Open the Task Manager using the key combination [Ctrl] + [Shift] + [Esc].
Select the 'Start-up' tab.
The Task Manager will list all of the programs installed on the computer. The 'Status' columns indicate whether automatic start-up is enabled or disabled for each program. Look through the list for processes that don’t need to be launched automatically when you start your computer. To change the status, click on “Enabled” or “Disabled” in the relevant row using the right mouse button and select the desired option from the context menu.
Alternatively, you can also use the “Disable” button on the bottom right corner.

2. Conserve bandwidth
Windows updates are pretty sizeable, as a result Microsoft would like to use your PC in order to help distribute them. Windows 10 includes a peer-to-peer download feature and by default Windows will automatically use your PC’s internet connection to upload updates. You can continue to use peer-to-peer updates on your local network, but you may not want to waste upload bandwidth for Microsoft’s gain.
Open settings by pressing Windows+I
Click the “Update & Security” icon followed by the “Delivery Optimisation” tab.
Check the switch “Allow downloads from other PCs”, If this is enabled select the option “PCs on my local network”. With this enabled, you’ll benefit from peer-to-peer updates on your home or work network. You will only have to download the updates once and they will be shared among all your PCs. Your PC will never upload updates over the Internet therefore making it quicker.

3. Turn off visual effects
Windows has some nice effects - shadows, animations and visual effects. Tone these down and your processor can spend the saved time on more important tasks.
In the Windows 10 search box, type sysdm.cpl and press Enter. This will launch the System Properties box.
Click the Advanced tab and click Settings in the Performance section. That brings you to the Performance Options dialog box the required tab ‘Visual Effects’ is already selected as standard.
Choose the option ‘Adjust for best performance’. Windows will then prioritise performance over visual effects. Alternatively, you can also apply user-defined settings by manually selecting the effects you want to have displayed.
Finally, confirm your changes with ‘OK’.

4. Check your energy settings
Windows standard energy saver settings enables your PC to run as quickly as it can whilst on mains power. However it edits performance when it identifies you are using laptop battery to enable you more running time. There is a balanced setting which offers you acceptable performance for an acceptable span of time.
Click the taskbar battery icon and then drag the Power mode slider to the right (“Best performance”)
If you don’t see an option for the slider make sure your PC is set up to use balanced performance by pressing Windows+I to open settings, clicking system followed by “Power & Sleep” and then “additional power settings”.
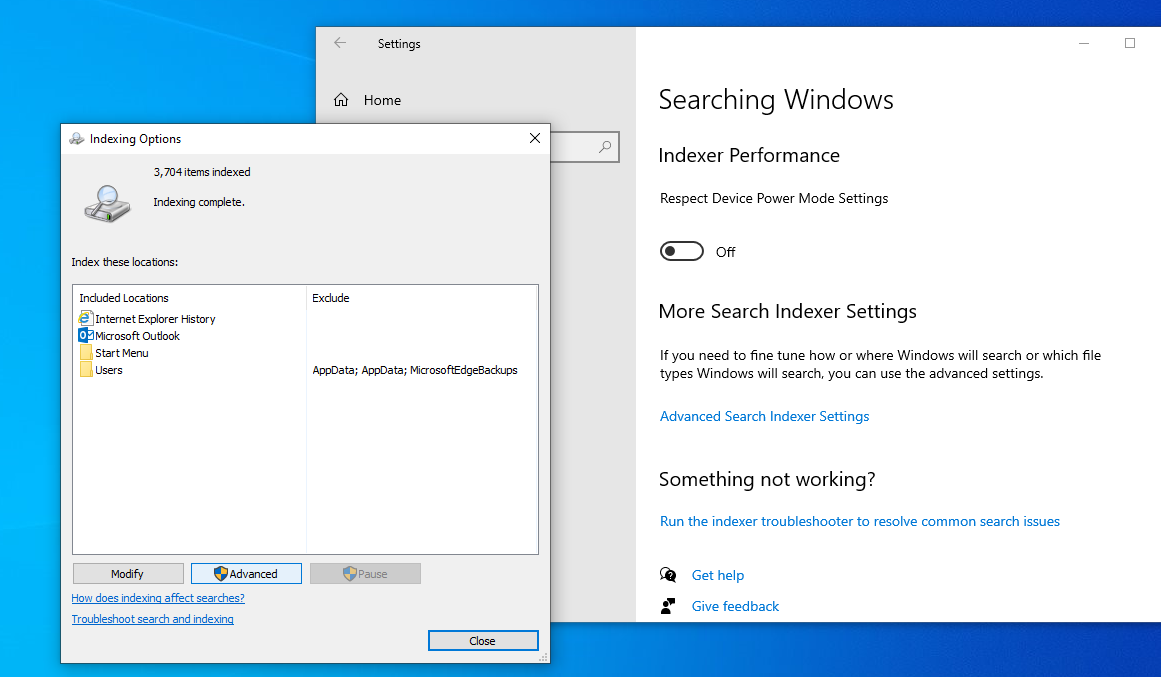
5. Switch off enhanced search
When you search for a word across all the files in your Documents library, the results come up almost immediately. A brilliant feature, but it comes at a price. When you are not searching, the indexing needed to create those fast searches slows you down. In the latest 2004 update Microsoft have made improvements to the search performance however if you have an older machine it still may be best to minimise search features.
Open settings by pressing Windows+I and click Search.
Click Searching Windows in the side bar and make sure “Classic Search” is selected.
Scroll down and click on Advanced Search Indexer settings, then click advanced.
Once you have clicked on Advanced switch to the File Types tab and deselct any of the extensions you don’t want to include in the search results.
6. Defrag your drive
If you are using an SSD drive, this tip becomes less irrelivant. However for those who are not and are using a hard drive, especially one that has been used for many years, defragging can make a lot of difference.
When defragmenting your hard drive, the data is re-arranged making Windows 10 faster. This not only increases speed but also the lifetime of your hard drive.
Firstly, click start and then type “defrag”.
Click the “Defragment and Optimize Your Drives” shortcut in the Start menu.
Find the drive you want to work with in the list of installed devices and check the “current status” column. If the entry beside it says anything other than “Needs Optimistation” then you can leave it as it is. However if it needs attention select the drive you’d like to defragment in the list, then click the button “Optimize”.

7. Free up disk space
If your internal storage is almost full whether it’s a hard drive or an SSD, then that could be slowing you down. But if your drive has plenty of free room, skip this section.
As a guidance - make sure your system has at least 10% of your hard drive space available.
The way to do this is to uninstall applications you no longer need, as well as Windows features such as language packs. To uninstall language packs:
Open settings and click “Time & Language” followed by Language.
Click on the languages you don’t require, then click the Remove button that appears.
Use Windows Disk Cleanup tool to shrink caches and temporary files it no longer needs.
Click Start, type “cleanup” and click Disk Cleanup.
Select the files you want to remove in the “Files to delete” section, followed by OK. You can delete old admin and installation files by clicking “Clean up system files”.
You can also use storage sense which automatically deletes files you no longer need, empties the recycle bin and removes local copies of files you haven’t used for a while if you are using OneDrive.
To turn it on open Settings and click System followed by storage.
Click the switch below “storage sense” so it slides to the right.
To tweak what storage sense can do on your machine, click the link “Configure Storage Sense or run it now”
8. Stop syncing OneDrive
Microsoft’s cloud-based OneDrive file storage, built into Windows 10, keeps files synced and up to date on all of your PCs. It’s also a really useful backup tool which means that if your PC or it’s hard disk becomes corrupt, fortunately you still have all your files intact, to restore at your ease.
This is achieved through constantly syncing files between your PC and cloud storage, which can also conversely slow down your PC. That is one way to speed up your PC, stop the syncing. However before switching that off permanently, you should check whether it is actually slowing down your PC.

Right-click the OneDrive icon (it looks like a cloud) in the notification area on the right side of the taskbar.
From the popup screen that appears, click “Pause syncing” choose how long you would like to pause for: 2, 8 or 24 hours.
You can use the method above to temporarily stop syncing whilst your PC is doing something else demanding. However if you want to turn off syncing permanently then:
Right click the OneDrive icon
From the popup, select Settings followed by Account.
Click “Unlink this PC,” and then from the screen that appears, click “Unlink account.” When you do that, you’ll still be able to save your files to your local OneDrive folder, but it won’t sync with the cloud.
9. Switch off background apps
Windows sometimes continuously runs apps in the background in order to provide you with ongoing information and notifications. However this can be a burden on working memory and can have a negative impact on overall performance. Windows offers the option to manually manage the use of apps in the background and to deactivate this function completely or just for selected programs.
Press Windows+I to open Settings
Select ‘Privacy’.
Now select ‘Background Apps’ in the side menu on the left.
Disable the feature ‘Let apps run in the background’ to disable the notification function for all apps. Alternatively, you can deactivate the feature for selected apps only.